How to Winterize your RODI EQuipment
How to Winterize Your RODI Equipment
Reverse Osmosis (RO) systems are too important of an investment to ignore during cold temperatures. If you let them freeze, your fittings may crack or leak, or the most expensive part – the RO membrane – can be damaged. If the RO membrane freezes, it can become dry and cracked, which means water will get through the membrane without removing the TDS and will have to be replaced.
If your system freezes, move it into a warmer location and let it thaw out. You’ll know it’s thawed when water starts dripping out. At this point, take off the housing and empty out the rest of the water.
Next, pull out and examine the RO membrane for visible cracks, then let it drain into a bucket. Put the unit back together, hook it up to a water source, and watch for leaks, which will indicate it’s damaged. Also, check the TDS to make sure the membrane is working correctly. If not, you’ll have to replace.
When testing and RO membrane, allow at least 5 gallons to pass through the membrane (or 5 to 7 minutes of flow) before measuring the TDS against the tap water. RO Membranes do not filter well in the first 5 minutes and need to settle.
If the membrane is working correctly, the numbers on your TDS meters should be in the lower double digits, or 80-90% less than your water source’s reading. For example, 280 ppm at the source should read around 28 ppm after the RO membrane.
If you are going to store your RO system for the winter, here’s what to do.
For the DI Side:
- Remove the both your carbon and DI filters.
- You can let your carbon filter dry out and then place in a plastic bag for storage. (We recommend replacing the carbon filter of the H2Pro at the beginning of season, which means you can just throw this one out if you’re storing for the winter.)
- The DI resin cartridge needs to be sealed in an air-tight bag because it will go stale (like bread).
- Disconnect the plumbing tubes from the bottom and drain the water.
- Replace the caps and pins so you don’t lose them.
For the RO Side
- If you are storing somewhere above freezing, start by filling up a 5-gallon bucket with water. You won’t need that much, but it’s important to have it on hand, ready to go. Remember, your RO membrane likes to stay wet.
- If you’re storing somewhere below freezing, have RV antifreeze ready to go.
- Drain the water from the cartridge.
- Add a full package of RO Protect (if you are going to store for at least 6 weeks) to protect against mold. Otherwise, you should run your system once every 2 to 3 weeks.
- Reseal the bottom, then pour in your pure water (if you’re storing somewhere above freezing) or RV antifreeze (if you’re storing somewhere it could freeze).
- Once the water or antifreeze is at the top of the cartridge, reseal.
- Avoid storing in direct sunlight to help prevent bio buildup.
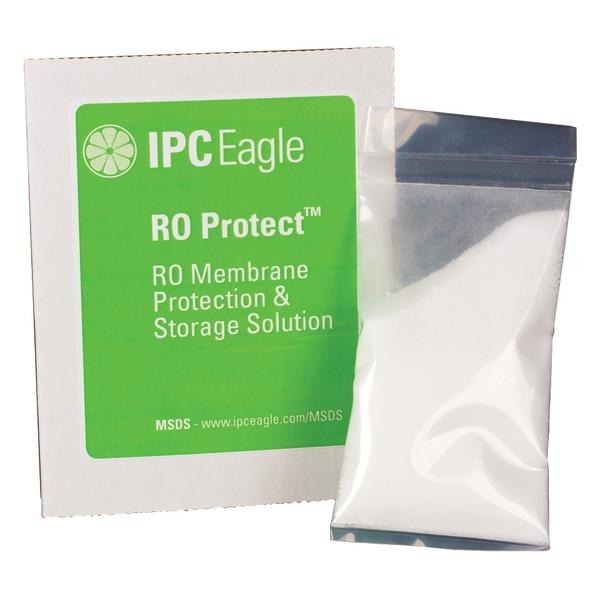
Why is RO Protect Needed?
While your RO system is sitting still for the winter, bacteria can grow in the standing water and cause fouling. This can help prolong the life of your filter system. If you choose not to use RO Protect during the winter, you’ll want to run your system at least once a week to help prevent bacteria growth.